How to Install a Roller Furler
If you've ever priced out a traditional furling system, you already know the pain points: possible unstepping of the mast, pulling rigging apart and/or paying for labor that has very little to do with actually sailing. That is exactly why boat owners keep wanting to install roller furling system hardware without turning a simple upgrade into a full rigging project. The good news is that on all sailboats the process is much easier and faster than most sailors expect if you have the right system.
This is a practical job, not a mystery. The key is choosing a furling system designed to install from the deck and takes the guesswork out of sizing, uses interlocking foil sections that slide up, and avoids the common design flaw...a "Swivel" that can be the primary cause of most halyard wrap, installation becomes a controlled mechanical task instead of a yard bill.
Before you purchase a roller furling system
Start with the boat, not the hardware. Measure your useable stay length from the Top Connection to the Swage Connection at the turnbuckle. https://www.3dfurler.com/sizing/
and confirm the stay diameter.
With our interlocking system, the foils are only 12 inches long, so don't worry if you don't get the length perfect. You can add or remove later.
You also need to confirm that the stay is free of all other objects and has an unobstructed path to the top.
Look at the deck layout as well. The drum needs clean rotation, enough clearance for the furling line, and a fair lead back to the cockpit or control point. If the line enters the drum at a poor angle or rubs against deck hardware, the system may technically work but feel rough under load.
Tools and prep work
Installations do not require a huge tool collection, but they do reward methodical prep. When you receive your order dry fit the drum top & foil sections to verify that your stay is the correct fit before you start the installation. Compare each component to the installation documentation and confirm nothing is missing, familiarizing yourself with the Installation Manual.
At minimum, expect to need few basic hand tools, a tape measure and a clean work area on deck.
This is also the point where you inspect the existing headstay for correct tension, terminals, toggles, and chainplate area. A new furler does not correct a worn stay or tired fittings. If the rigging shows age, broken strands, cracks or bad corrosion, stop and address that first.
How to install roller furling system hardware from the deck
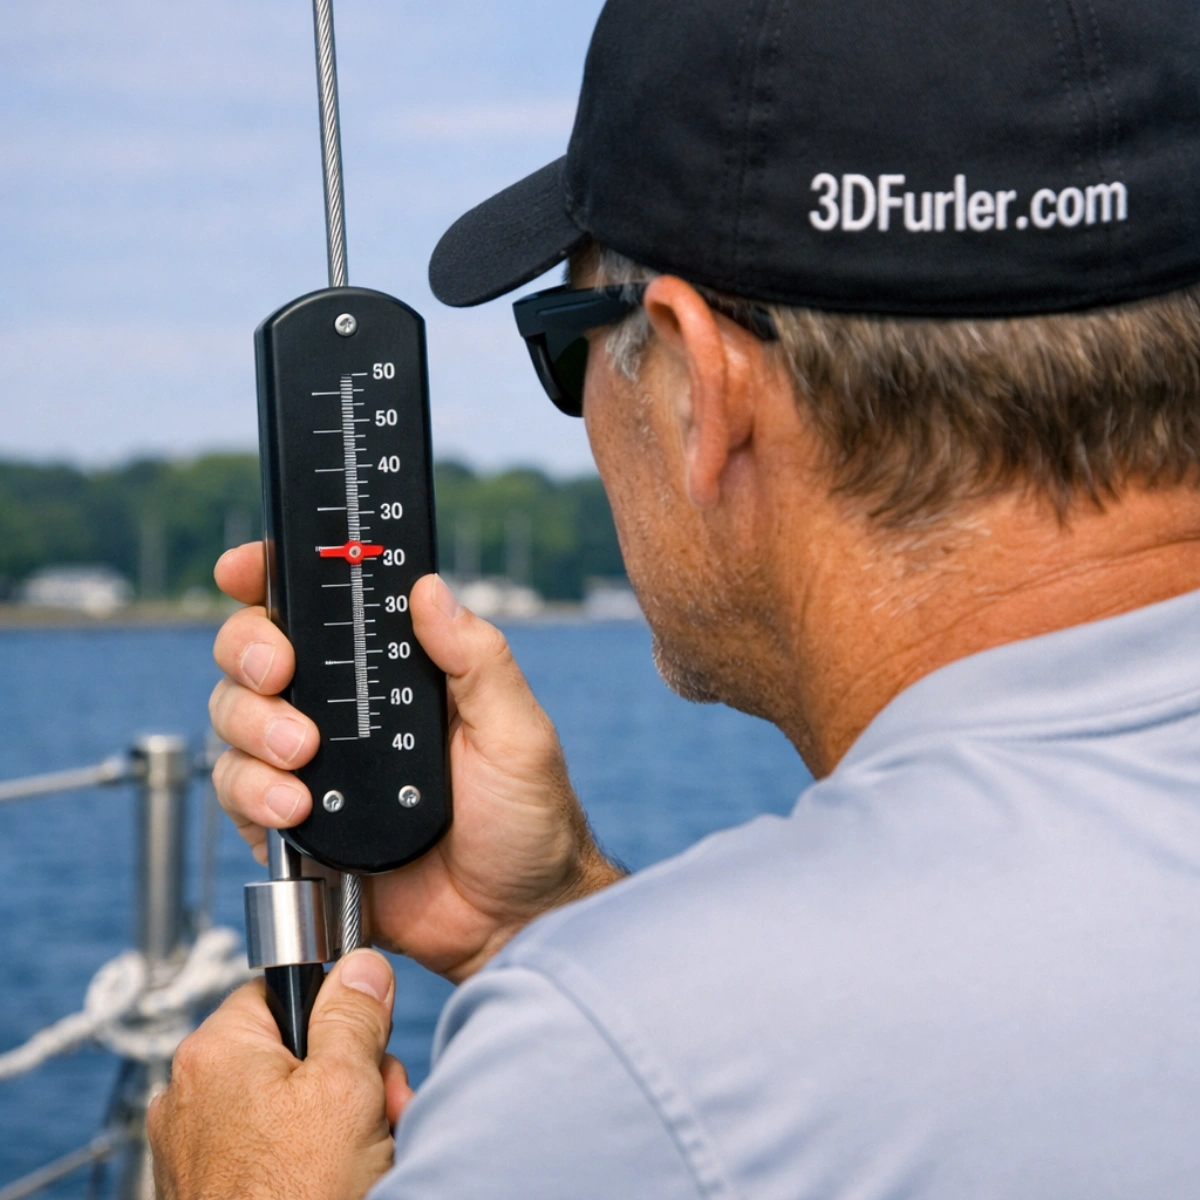
For a deck-based installation, the sequence is usually straightforward. First, ensure that the forestay is tensioned with the no "wow" effect and is a straight edge. A tension gauge is a good investment. A loose stay will result in excess foil friction and possible damage.
Next, attach the drum assembly at the stay wire above the turnbuckle. Always tether the drum halves or use a nylon tie to secure them before you bolt them so that if they fall overboard, you can retrieve them. Make sure the drum sits correctly on the turnbuckle swage correctly and add the four bolts, washers and nylons nuts but leave the drum a little loose for the final foil fit.
After that, assemble the 2-part Top Assembly over the stay, adding the First B & A foils and securing with the provided inserts that prevent the 12-inch foil pieces from dropping down.
Insert one end of a 1/4" Double Braid Low stretch line of double the length of your system, taking care to tie off one bitter end to a fixed point on the boat.
This is where installation design makes a real difference. As you start inserting the interlocked Foils marked A and B one after the other, the system keeps getting higher and the halyard line moves up with it. Repeat until you have no more A Foils to install.
Now add the Luff Foil which is 6 inches long and has a gap to add the sail.
Then checking that the last foils are even with each other, insert into the matching opening on the drum top and tighten.
Sail attachment and line routing
Choose a day when there is little wind or do the installation at anchor where the wind will always be on your bow.
Attach the Tack of the sail to one of the Pad Eyes on the Drum using a shackle or line that fits.
Attach the Jib Sheets allowing them to sit on the deck.
After deciding if you wish to use an endless loop or single line (download installation manual here: https://www.3dfurler.com/installation/.
Use the halyard line that is closest to the outside of the furler as the downhaul. Look and ensure that it is not twisted around the furler foils and start feeding and pulling on the halyard. If there is any binding or it won't move, check that the halyard line is not twisted around the foils.
Feed the sail luff into the foil entry and raise the sail carefully, watching for snags or misfeeds.
Only tighten the downhaul line enough so that the sail is smooth down the luff. Do not over tension it and secure it to the other pad eye on the drum.
You now have the sail up.
Now turn the drum by hand in the appropriate direction until the jib sheets are at three wraps around the sail.
Secure it for the time being.
Now route the furling line. The drum has pass through ports in the center. Feed up to 5/16 furling Line through the drum and secure the end. Then feed the line through a series of fair leads that work best on your sailboat. Use about 1.5 x the length of the boat and run it back to where you plan to do the furling.
Feed the jib sheets into the turning blocks and get them set for your first unfurl.
Very Important:
Your roller furler is designed to be used when you are on the water and have the capability to steer into wind to unfurl and furl the system. It is not recommended to furl the sail when the wind is not on the bow. Furling abeam will stress out the sheet, sail and most importantly is unsafe for the person handling the line.
Unfurling without controlling the furling line speed may result in over spooling of the drum, much like a bobbin of thread on a sewing machine, it can get fouled.
For this reason, if you are deploying it to test it at the dock, do not operate in winds higher than 3-5 knots gust if the wind is not coming from directly aft on the bow.
First Unfurl:
On the first unfurl, the drum gets loaded with the furling line for the first time.
To do this, maintain a light tension on the furling line (hint: add a small directional to one of the fair leads to add tension) as you slowly pull on the leeward side of the jib sheet.
Allow the sail to deploy at a safe and steady rate and the drum will spool nicely.
Where installs usually go wrong
Most furling problems blamed on the product are actually installation geometry problems. Halyard wrap is the classic example. If the halyard exits too low or too parallel to the foil, it can start wrapping at the top instead of letting the swivel rotate cleanly. That is not just annoying. It can damage the halyard, jam the system, and create real safety issues when shortening sail. Thankfully, the 3DFurler.com system does not use a swivel and does not experience halyard wrap.
When DIY makes sense and when it doesn't
For physically and mechanically capable sailboat owners, this is often a very reasonable DIY project. If you can measure accurately, work carefully under load-management precautions, and follow a technical sequence, installing a furling system from the deck is well within reach.
That said, there are limits. If your headstay condition is unknown, your rig tune is already suspect it may be smart to bring in a rigger for that part. The installation itself can still be simple, but the surrounding rigging condition is vital.
This is where smarter hardware earns its keep. A lightweight, compact system with broad compatibility and a deck-based installation path reduces the number of variables. That is why products from 3D Roller Furler appeal to owners who want modern engineering without legacy complexity.
Installing a furler should leave you with a cleaner foredeck, easier sail handling, and fewer reasons to avoid using the headsail in changing conditions. If the system fits the boat and the install respects the geometry, the result feels less like an upgrade project and more like the boat finally working the way it should.